Step By Step Procedure:
Hello Friends,
Here we are have 24 Easy and Simple Installation Wizard Overview on AX 2012 R2.
Note: Make Sure The your P.C/ Laptop Is Connected to Internet.
1) Open the Setup Program/Setup Wizard.
1) Open the Setup Program/Setup Wizard.
2) Click "Microsoft Dynamics AX Components" under Install.

3) Click Next.

4) Check Mark "I accept the license terms" *.

5) Choose Appropriate Option.

6) Processing will start.


7) Choose "Add or modify components".

8) Select Options to install/upgrade.

9) Review the Errors/warnings and click on "Configure" check box for the applicable errors. and click "Configure". For some components we ll get the Download link to directly download the required components.

10) Click "Start" to start configuring components as per AX needs.

11) Select "Configure existing database (for upgrade scenarios)".

12) Specify your existing databases.

13) Choose models to upgrade.

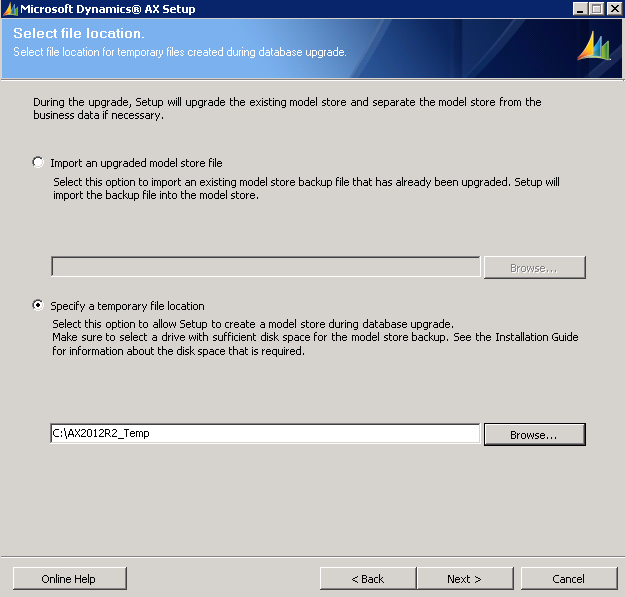
14) Specify the "Temp" location for setup files.
15) Specify the SSAS details.

16) Specify credentials (we just have used the dummy account) for learning purpose only. Use your AD authenticated account details.

17) Specify .net BC account (if its not already there in AX)

18) Choose your Languages (en-US) in this demo.

19) Specify Data Crawler Account details.

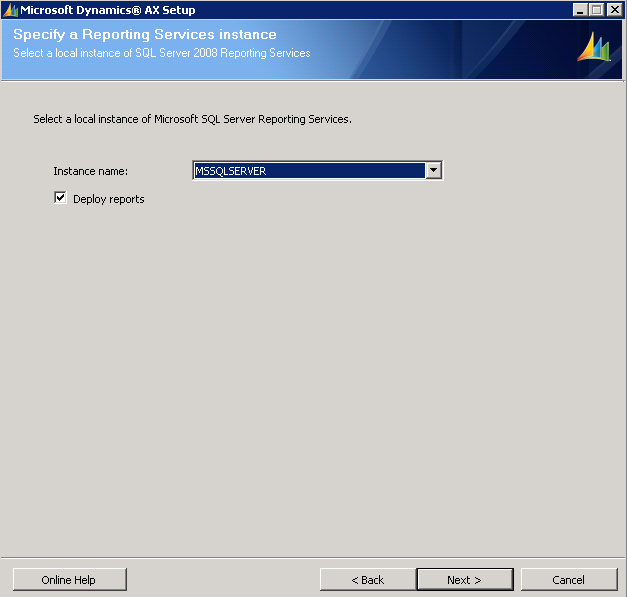
20) SSRS Database details.

21) User Account for SSRS Access. Click Next

23) Review prerequisite validation & Click Next.

23) Click Install.

24) Verify the installation.
Proud To Be a DAX Developer :-)
No comments:
Post a Comment